Get Ready for the Holidays with Stunning Pearl Nails: A Step-by-Step Guide to the Perfect Manicure
The holiday season is the perfect time to embrace some festive fun, and that includes giving your nails a gorgeous makeover! For a sophisticated yet bold look, pearl nails are the perfect choice. With a soft, iridescent shine and a subtle cloud effect, this manicure will have your nails sparkling all season long. Ready to create your own pearl-finish nails? Let’s walk through the steps together—and don’t worry, we’ve got all the tools you’ll need right here!
Step 1: Prep Your Nails for a Long-Lasting Gel Manicure
Before applying any polish, it’s essential to prep your nails properly. Good preparation is key to making your manicure last.
- Clean and File Your Nails
Use a soft nail file to shape your nails to your desired length and shape. Be gentle—over-filing can weaken your nails! - Push Back Your Cuticles
To give your nails a neat look, push back your cuticles gently with a cuticle pusher and softener.
Recommended Products:
- Cuticle Trimmer & Pusher ($5.99) – Perfect for a precise and gentle cuticle push.
- Gelcare Cuticle Softener ($13) – Keep your cuticles soft and manageable for the perfect manicure.
- Buff the Nail Surface
Lightly buff the nail to remove excess shine. Just a few gentle strokes are enough to create a smooth surface for your polish.
Recommended Product:
- 4-Way Nail Buffer Block ($3.99) – A gentle buffer to smooth out your nails before applying gel polish.
- Remove Natural Oils
For the gel polish to adhere properly, you’ll need to remove any oils from your nails with rubbing alcohol.
Recommended Product:
- Nail wipes – ($7,99) Ensure perfect adhesion and a flawless finish!
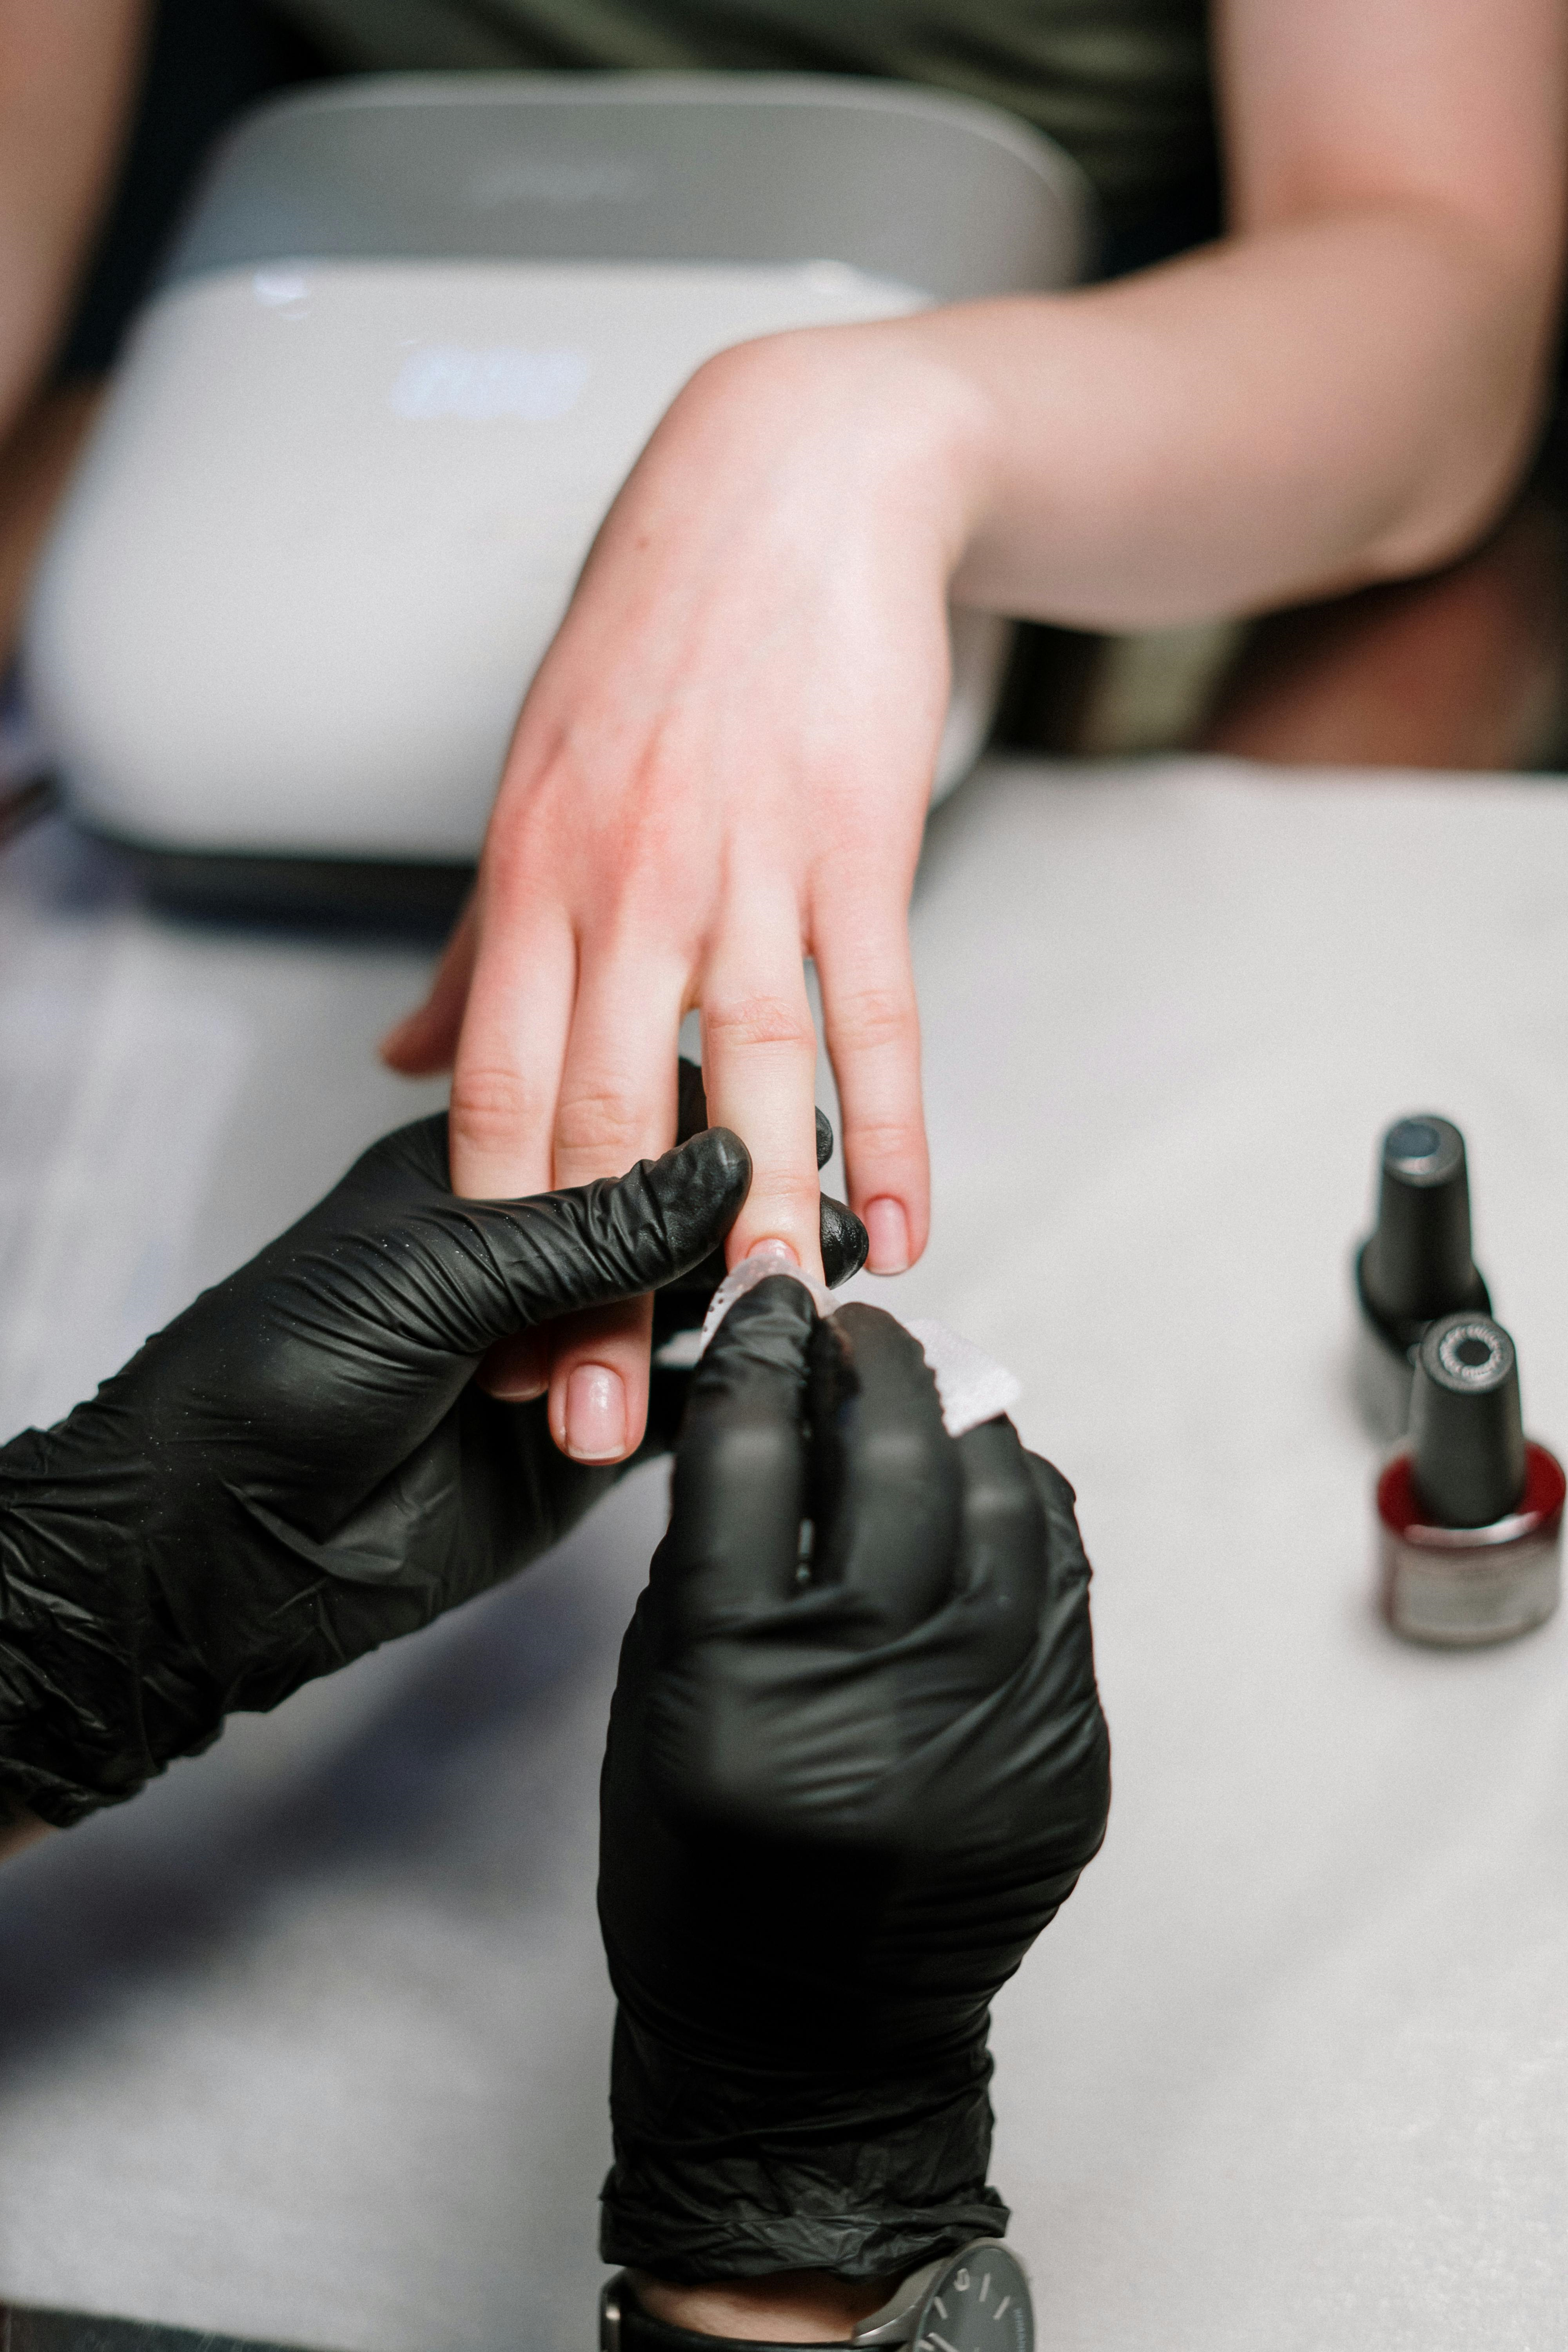
Step 2: Apply the Pearl-Finish Gel Polish
Once your nails are prepped and ready, it’s time to apply the gel polish for that stunning pearl effect!
- Base Coat
Apply a layer of base coat and cure it under a UV or LED lamp. This will help the gel polish adhere well and last longer.
Recommended Product:
- Top Coat Finish Nail ($7.99) – For a long-lasting base that provides great adhesion.
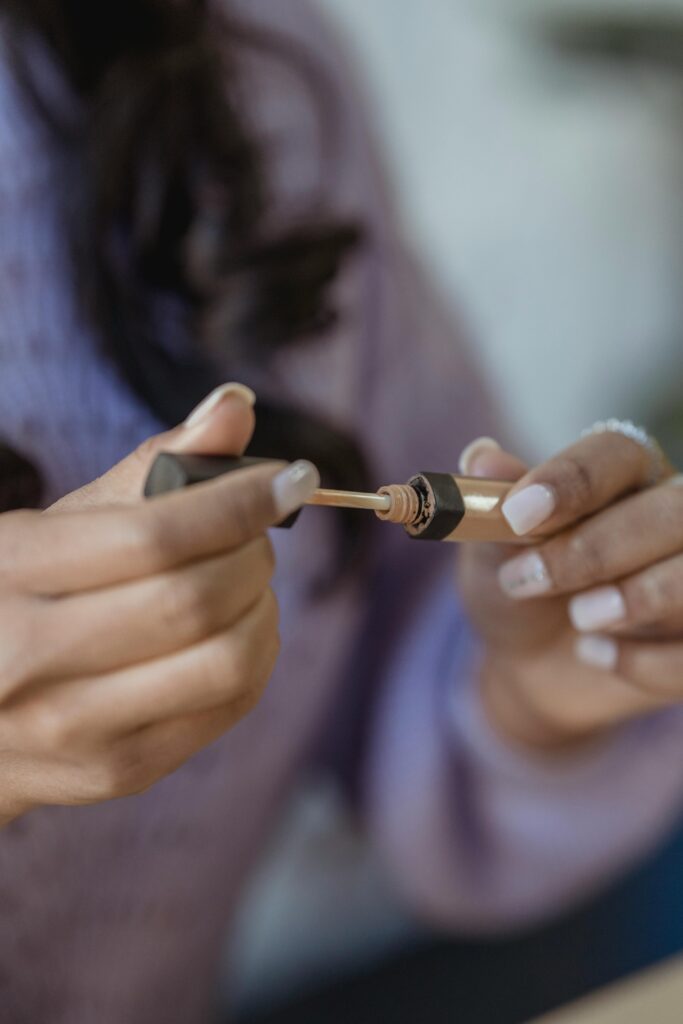
- Pearl-Finish Gel Polish
Now comes the fun part! Apply 1-2 coats of gel polish with a pearl finish. Cure each layer under the lamp as directed. The more coats you apply, the more intense the opacity!
- Create the “Cloud Effect”
For the final touch, add a few drops of polish to the nail and, before curing, use a dotting tool to make small, circular motions. This will create a dreamy, cloud-like effect that adds depth to your manicure.
Recommended Products:
- 31pcs Nail Art Brushes ($6.99) – These are essential for creating the perfect cloud effect!
- Top Coat Finish Nail ($7.99) – For a long-lasting base that provides great adhesion.
Step 3: Cure and Enjoy Your Gorgeous Nails!
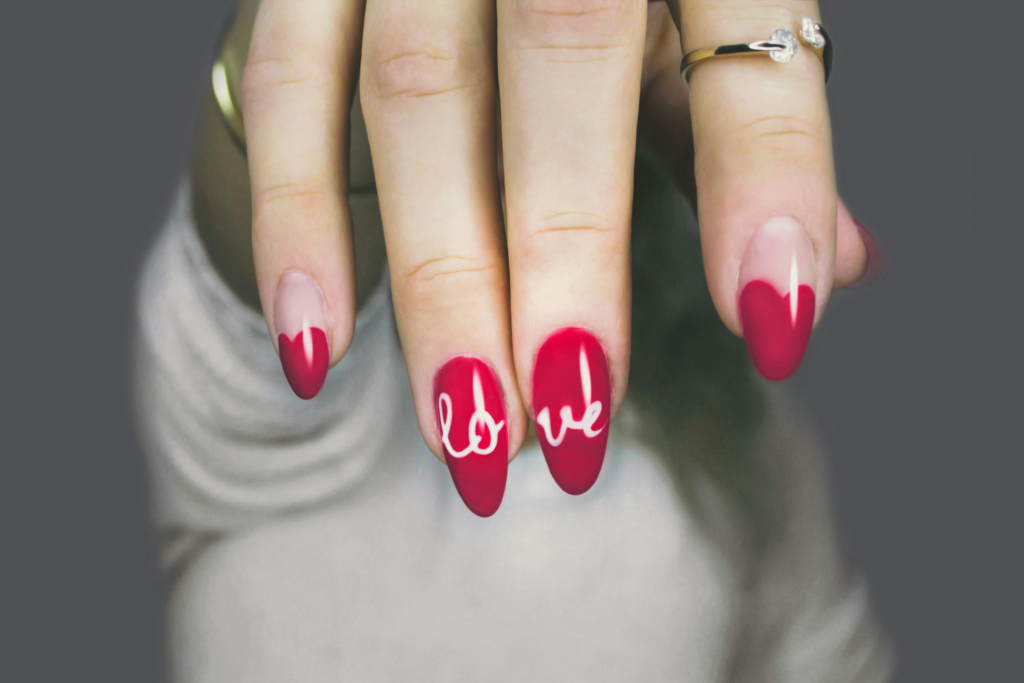
Once you’re happy with the cloud effect, cure your nails to set the design. And voila—gorgeous, pearly nails that are perfect for the holiday season!
With these simple steps and the right products, you can achieve an elegant and festive manicure that will impress everyone. Ready to get started? Check out our recommended products and make sure you have everything you need to create your own stunning pearl nails this holiday season!
Shop the Products:
- Cuticle Trimmer & Pusher
- Gelcare Cuticle Softener
- 4-Way Nail Buffer Block
- Gelcare Gel Base Coat
- Gelcare Gel Polish, Ivory Pearl
- 5-Piece Dotting Tools
Happy Holidays and happy manicuring!
References :
Nail Care Tips from Healthline:
Healthline offers expert-backed advice on maintaining healthy nails, including tips on how to prepare your nails before applying gel polish. They emphasize the importance of cleaning, filing, and buffing your nails properly for the best results.
- Source: Healthline: Gel Manicure Guide
Gel Manicure Preparation from NailPro:
NailPro provides a step-by-step guide to gel manicures, highlighting the essential preparation steps, such as cuticle care and removing natural oils from your nails before applying gel polish.
- Source: NailPro


Post Comment